
Running an always-on OpenClaw agent can get expensive fast. Most agent traffic is simple — status checks, quick lookups, routine summaries — but if you’re pointing everything at GPT-4o or Claude Sonnet, you’re paying frontier prices for basic work.
Haimaker’s auto-router fixes this. Set it up once, point your OpenClaw agent at haimaker/auto, and let the router decide which model handles each request. Simple stuff goes to cheap models. Complex tasks go to capable ones. You don’t write any routing logic. You just stop overpaying.
Get started in 5 minutes
1. Sign up for Haimaker
Create a free account. You get $10 in free credits to start.
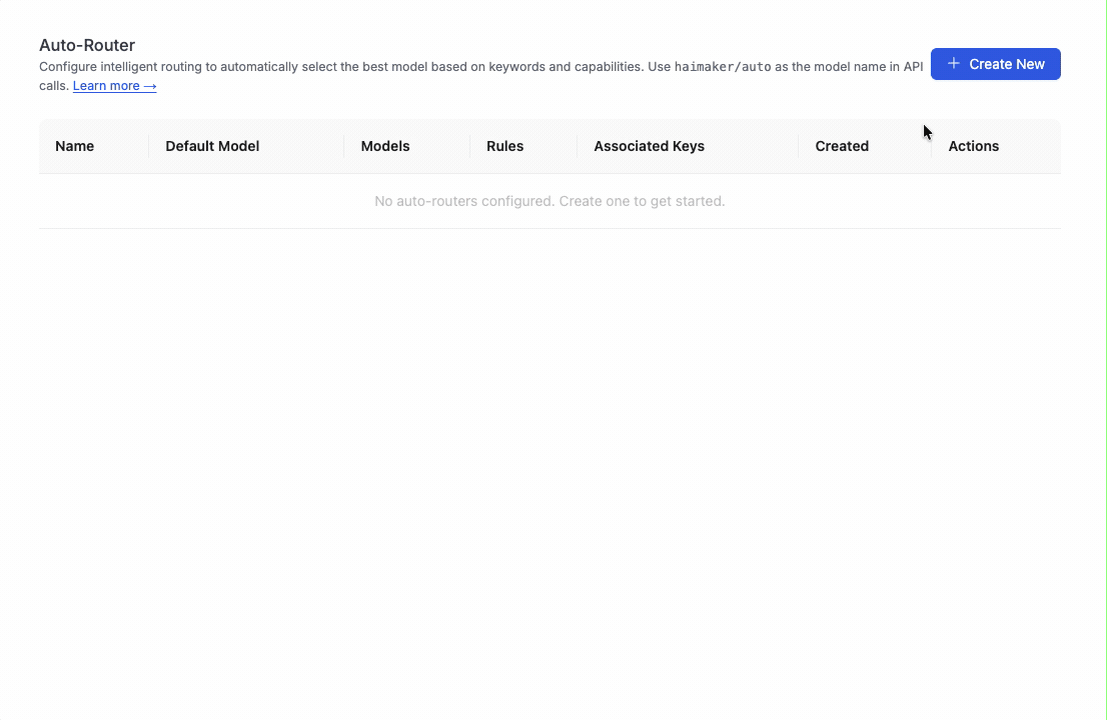
2. Create an auto-router
Once you’re in the dashboard, go to Auto-Routers and create a new one. This is where you define the rules that decide which model handles each request.
Start with the default rules — they’re based on real traffic patterns and work well for most agents. You can always tune them later.
3. Create an API key and attach your auto-router
Go to API Keys, create a new key, and select your auto-router from the dropdown. Any request made with this key will use your routing rules.
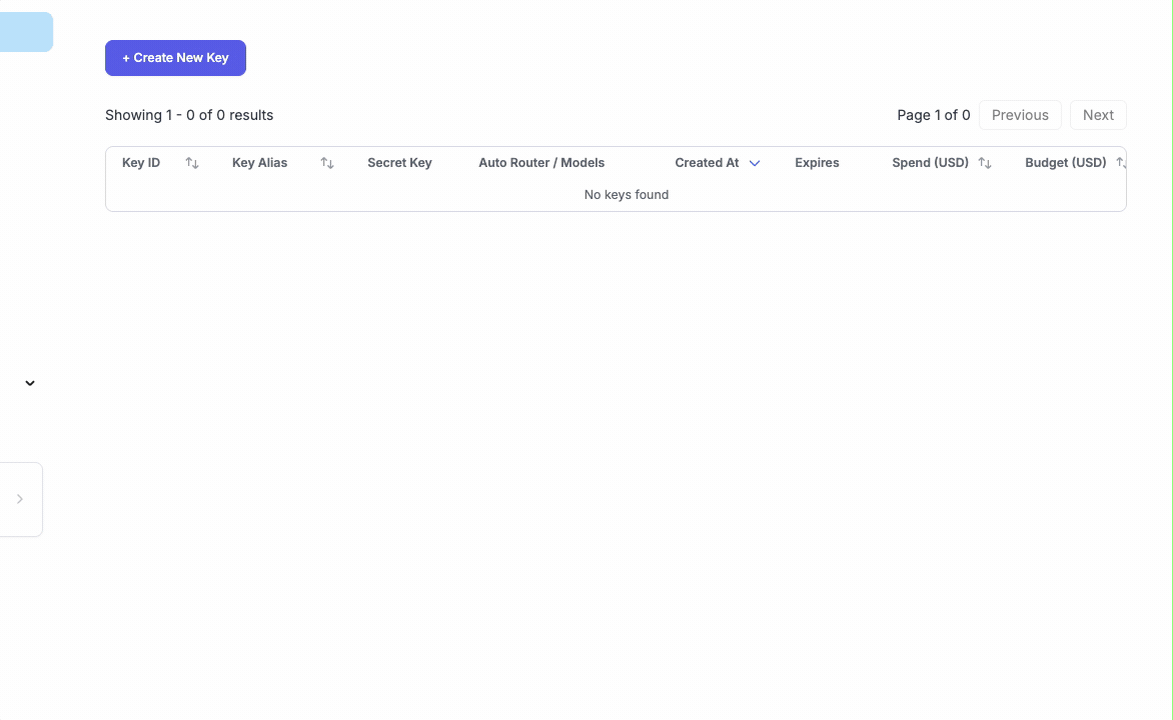
Copy the API key — you’ll need it for the next step.
Option 1: Ask OpenClaw to set it up (Easiest)
Once you have your Haimaker API key, just paste this prompt into your OpenClaw chat:
Add Haimaker as a custom provider to my OpenClaw config. Use these details:

- Provider name: haimaker
- Base URL: https://api.haimaker.ai/v1
- API key: [PASTE YOUR HAIMAKER API KEY HERE]
- API type: openai-completions

Add the auto-router model:
- haimaker/auto (reasoning: false, context: 128000, max tokens: 32000)

Create an alias "auto" for easy switching. Apply the config when done.
That’s it. OpenClaw will update your config, add the provider, and restart automatically. Verify it worked by running /models — you should see haimaker/auto in the list.
Switch to it with /model auto and you’re routing through Haimaker.
Option 2: Manual configuration
If you prefer to set it up yourself, here’s how to add Haimaker’s auto-router to your OpenClaw config.
Find your config
Your OpenClaw config lives at:
~/.openclaw/openclaw.json
(If you’re on an older version, it might be at ~/.clawdbot/clawdbot.json — the paths are symlinked.)
Add the provider
Add this to your models.providers section:
{
  "models": {
    "mode": "merge",
    "providers": {
      "haimaker": {
        "baseUrl": "https://api.haimaker.ai/v1",
        "apiKey": "YOUR-HAIMAKER-API-KEY",
        "api": "openai-completions",
        "models": [
          {
            "id": "haimaker/auto",
            "name": "haimaker/auto",
            "reasoning": false,
            "input": ["text"],
            "cost": {
              "input": 0.10,
              "output": 0.40,
              "cacheRead": 0,
              "cacheWrite": 0
            },
            "contextWindow": 128000,
            "maxTokens": 32000
          }
        ]
      }
    }
  }
}
The cost values here are placeholders — the actual cost depends on which model the router selects for each request. Haimaker’s dashboard shows your blended costs in real time.
Add to the allowlist
This step is required. Add the model to your agents.defaults.models section:
{
  "agents": {
    "defaults": {
      "models": {
        "haimaker/haimaker/auto": {
          "alias": "auto"
        }
      }
    }
  }
}
The fully-qualified name is haimaker/haimaker/auto — provider name plus model ID.
Apply the config
Run:
openclaw gateway config.apply --file ~/.openclaw/openclaw.json
The gateway restarts automatically.
Test it
- Run
/modelsto confirmhaimaker/autoappears - Switch to it:
/model auto - Send a test message
- Check the Haimaker dashboard to see which model handled the request
How the savings work
Here’s a real example from an OpenClaw agent running 24/7:
| Request type | % of traffic | Model | Cost per 1M tokens |
|---|---|---|---|
| Status checks, simple queries | 55% | MiniMax M2.5 | $0.30 / $1.20 |
| Routine tasks, summaries | 25% | GLM-5 | $0.80 / $2.56 |
| Complex reasoning, coding | 20% | GPT-OSS-120B | $0.60 / $2.40 |
Blended cost: ~$0.38 / $1.46 per 1M tokens
Compare that to sending everything to GPT-4o at $2.50 / $10.00 per 1M tokens. For an agent processing 10M tokens per day, that’s the difference between ~$18/day and ~$125/day.
The router makes these decisions automatically based on:
- Capability filtering — vision requests only go to vision models, tool calls to tool-capable models
- Keyword matching — “debug this code” routes differently than “what’s the weather”
- Your custom rules — add domain-specific keywords for your use case
Every routed request is tagged in Haimaker’s logs. You can see exactly why each request went where it did.
Tuning your router
The default rules handle most agent workloads well, but you can optimize further:
- Add keywords specific to your agent’s tasks
- Set capability-based rules (e.g., “all vision requests to GPT-4o”)
- Adjust the default fallback model
Changes take effect immediately — no need to restart OpenClaw or update your config.
Troubleshooting
“model not allowed: haimaker/haimaker/auto”
You missed the allowlist step. Add the entry to agents.defaults.models with the fully-qualified name.
Requests aren’t routing to cheaper models
Check your rules in the Haimaker dashboard. The sandbox lets you test prompts and see where they’d route before making real requests.
Latency seems higher
First request to a new model incurs a cold-start. Subsequent requests to the same model are fast. The router also has negligible overhead — it’s just pattern matching, not an LLM call.
Related guides
- Integrating custom LLM providers with OpenClaw — Detailed walkthrough of the manual config process
- Auto-routing: Cut AI inference costs without writing custom logic — How the routing system works under the hood
- Best models for OpenClaw in 2026 — Which models to include in your router